
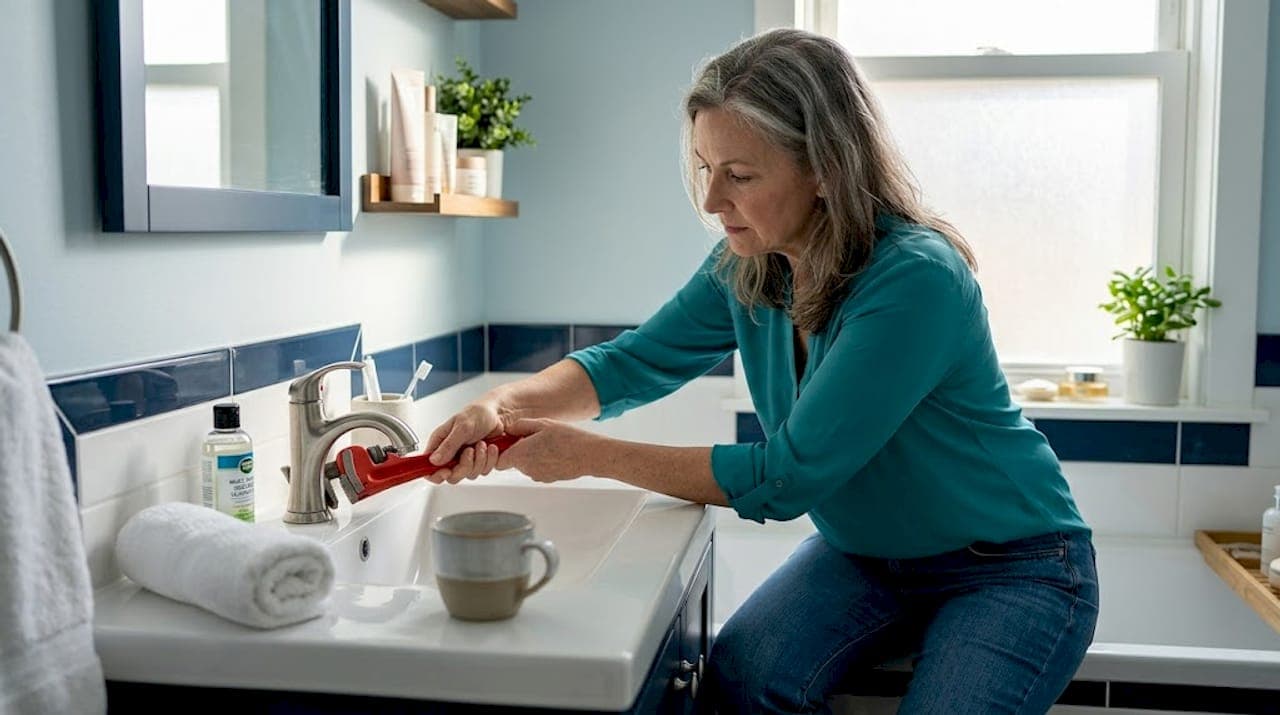
Living alone after 50 comes with a quiet kind of pride. You set the thermostat where you like it, you keep your own schedule, and no one argues with your grocery list. But when a faucet starts dripping at 11 p.m. or a door suddenly refuses to close, that pride can tip into worry fast. Learning to handle home repairs living solo is not about becoming a contractor overnight. It is about building enough confidence, the right tools, and a steady system so that small problems stay small, and you always know when to pick up the phone instead.
Table of Contents
- Key Takeaways
- Your essential toolkit for solo home repairs
- Building a maintenance routine that actually sticks
- Common DIY repairs you can safely handle alone
- When to call for help and who to call
- My honest take on solo home repairs
- How Agingsolo can help you stay on top of it all
- FAQ
Key Takeaways
| Point | Details |
|---|---|
| Build the right toolkit | Keep ergonomic, quality tools organized in one spot so repairs feel less daunting to start. |
| Use the one-touch rule | Fix anything under five minutes immediately rather than letting small issues grow into costly ones. |
| Batch and schedule maintenance | Group similar tasks by season or month to stay consistent without feeling overwhelmed. |
| Know your limits | Leave structural, electrical, and in-wall plumbing work to licensed professionals every time. |
| Build a support contact list | Have trusted contractors, neighbors, and community resources ready before an emergency arrives. |
Your essential toolkit for solo home repairs
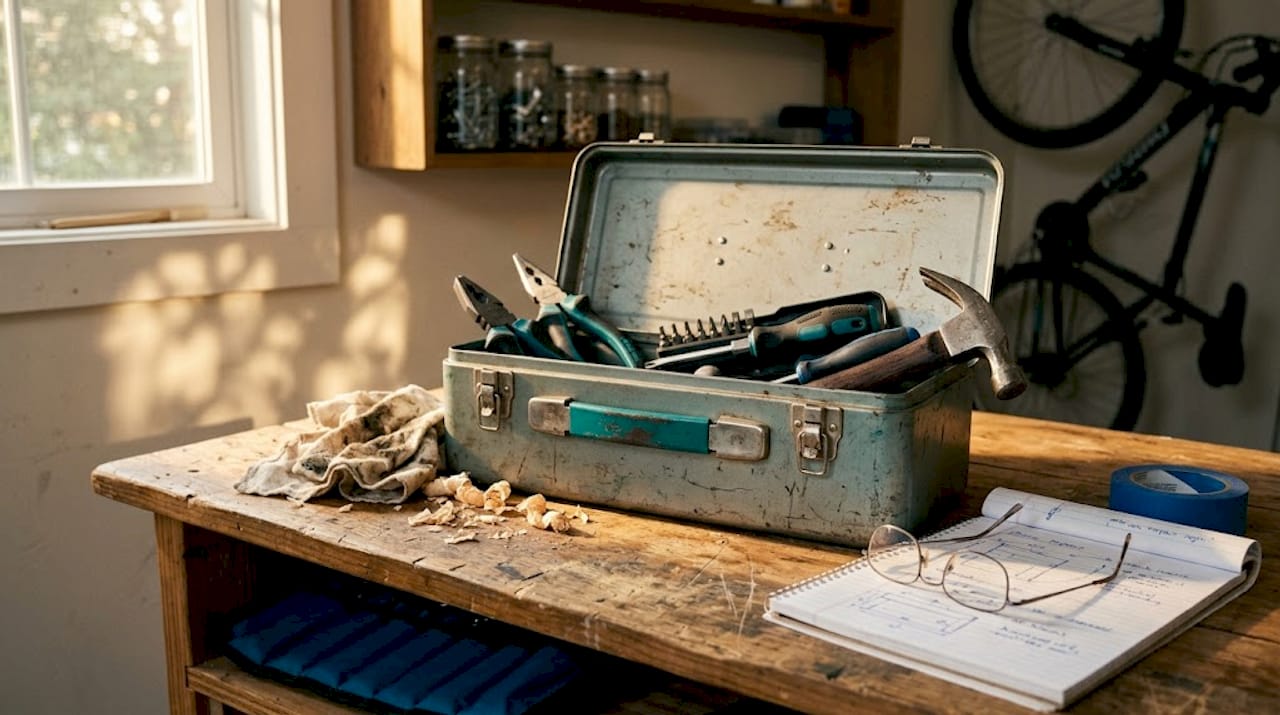
Every home repair starts before you pick up a single tool. It starts with knowing what you have and where it is. A prepared toolkit reduces the friction of starting a repair and keeps you safer while doing it. When everything is in one bag or box, you do not talk yourself out of fixing something because finding the right screwdriver feels like too much effort.
Here is what a solid fix-it kit looks like for solo home repair tips that actually get used:
- Hammer (16 oz, with a comfortable grip)
- Screwdriver set (both Phillips and flathead in multiple sizes)
- Adjustable pliers and needle-nose pliers
- Tape measure (25-foot, locking)
- Utility knife
- Level (a small torpedo level works fine)
- Caulk gun with a tube of silicone caulk
- Weatherstripping materials (foam tape and door sweeps)
- Flashlight or headlamp (headlamps keep both hands free)
- Putty knife
- Safety gloves and safety goggles
For solo adults over 50, the ergonomics of your tools matter more than most guides admit. A heavier hammer is harder to control after 20 minutes of work. Look for rubberized grips and lighter weights when replacing old tools. The best tools for solo repairs are not always the most powerful. They are the ones you can use safely and comfortably on your own.
Pro Tip: Buy the best quality you can afford for the tools you use most, like your screwdrivers and pliers. Cheap tools slip, strip screws, and fatigue your hands faster. One good investment beats replacing low-quality tools repeatedly.
| Tool category | Why it matters for solo repairs |
|---|---|
| Ergonomic handles | Reduce hand strain during extended tasks |
| Safety goggles | Protect eyes when cutting, drilling, or scraping |
| Headlamp | Frees both hands when working in dark spaces |
| Quality caulk gun | Gives you smooth, controlled application |
Store your fix-it kit in one dedicated, easy-to-reach spot. A small rolling cart or a handled tote bag works well. You want zero searching time when motivation is high.
Building a maintenance routine that actually sticks
Here is the truth about single person home upkeep: the repairs that cost the most money are almost always the ones that started as something tiny. A slow drip ignored for six months becomes a water-damaged floor. A clogged gutter becomes a flooded basement. Consistent maintenance can reduce your repair costs by as much as 30%. That is not a small number.
The challenge for solo adults is that there is no one else to notice a problem and no one to share the mental load of keeping track. That is why the system matters more than the willpower.
Two habits worth building right now:
The one-touch rule. If a repair takes under five minutes, do it the moment you notice it. Fixing small tasks immediately keeps your home from accumulating a list of small annoyances that eventually feels like a wall. A loose doorknob, a burned-out light bulb, a squeaky cabinet hinge. Handle it once. Move on.
The batching method. Group similar tasks together and assign them to a specific day each month or season. This is how you avoid both procrastination and burnout. A sample monthly batch might look like this:
- Test smoke and carbon monoxide detectors
- Check under sinks for moisture or drips
- Clean the lint trap and wipe down the dryer exterior
- Inspect weatherstripping on the front door
- Run water in guest or rarely used sinks to prevent drain buildup
For seasonal tasks, add gutter cleaning in the fall, checking the water heater pressure relief valve in the spring, and inspecting window caulking before winter.
The most underrated living alone maintenance hack is anchoring tasks to your existing routines. Pairing maintenance with something you already do, like checking under the kitchen sink while you are putting away groceries, removes the need to remember it separately. It becomes part of how you move through your home, not an extra item on a to-do list.
Pro Tip: Set a recurring phone reminder called "Home 15 Minutes" once a month. Spend exactly 15 minutes doing your batch tasks. Nothing more. The time limit prevents the session from feeling like an all-day project and keeps the habit sustainable.
Monthly and seasonal maintenance done consistently keeps your home safe, comfortable, and far less likely to surprise you with expensive emergency repairs.
Common DIY repairs you can safely handle alone
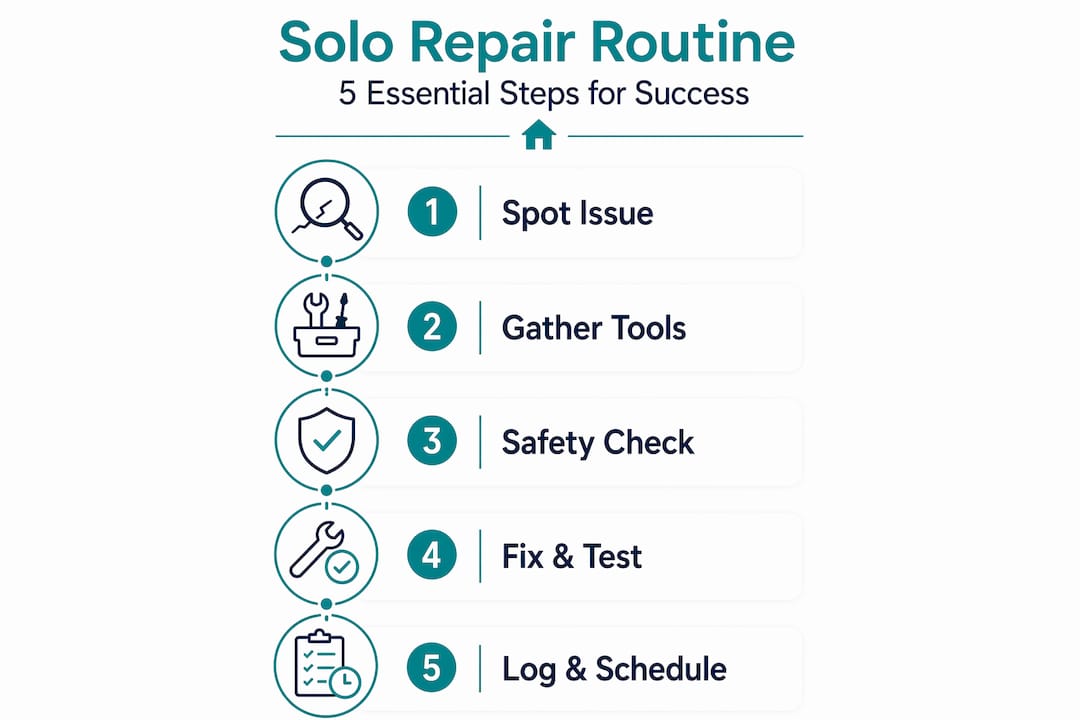
This is the part where living solo DIY projects shift from intimidating to genuinely satisfying. Most everyday home repairs are well within reach. You do not need a second person watching or handing you tools. You need clear steps and a little patience.
Fixing a leaky faucet
Turn off the water supply valve under the sink before you touch anything. Most faucet leaks come from a worn washer or O-ring inside the handle. Remove the handle with a screwdriver, replace the washer, and reassemble. One important rule: tighten only until watertight, then stop. Over-tightening plumbing fittings creates micro-cracks that fail weeks or months later. You will not notice until water is dripping somewhere it should not be.
Replacing caulking around tubs and windows
Old caulk peels, cracks, and lets moisture into places it should never reach. Replacing it yourself is one of the highest-value repairs you can do. Use a putty knife to remove the old caulk completely. Wipe the surface clean and let it dry fully before applying new silicone caulk.
Here is the step most people skip when re-caulking a bathtub: fill the tub with water first before you apply the caulk. The weight of the water causes the tub to settle slightly. If you caulk an empty tub and then fill it, the caulk seal stretches and fails within weeks. This one detail is the difference between a repair that lasts and one you redo in two months.
Weatherstripping drafty doors
If you feel a draft near your front or back door, you are paying to heat or cool the outdoors. Peel off the old foam tape, clean the door frame, and press new adhesive weatherstripping into place. Door sweeps at the bottom attach with just a few screws.
Unclogging drains and toilets
A cup plunger handles most sink and toilet clogs. For shower drains, a simple drain snake (the hand-crank kind) costs under $20 and handles hair buildup easily. Skip the chemical drain cleaners whenever possible. They work short-term but damage pipes over time.
Pro Tip: When working alone on any repair that involves water, shut off the main supply valve first until you are confident about the task. A shut-off valve wrench stored with your toolkit makes this a 10-second step.
Know when to stop. If a repair involves the structural elements of your home, the electrical panel, or plumbing that runs inside walls, call a professional. Renovation experts are clear on this. The "bones" of a home are not DIY territory, no matter how confident you feel. Doing those repairs wrong costs far more than hiring the right person.
Common mistakes to avoid in all DIY home fixes for singles: skipping safety gear, rushing to finish, and assuming that if water stops dripping the problem is solved. Take your time. Wear your goggles. And always check your work 24 hours later.
When to call for help and who to call
Knowing how to repair things alone is valuable. Knowing when not to is equally so. Some repairs genuinely require a licensed professional, and recognizing the line protects both your home and your personal safety.
Repairs that always require a professional:
- Any work touching your electrical panel or breaker box
- Plumbing inside walls, under a slab, or connected to the main line
- Roof repairs beyond replacing a single loose shingle
- Foundation cracks or settling
- Gas line concerns of any kind
The time to build your trusted contact list is before you have an emergency. Think through these four categories and find one or two reliable names for each:
- General handyperson for small jobs you cannot do alone
- Plumber for anything beyond a faucet washer
- Electrician for wiring, outlets, and panel work
- HVAC technician for heating and cooling systems
For solo adults on fixed incomes, cost is a real factor. Many communities offer low or no-cost home repair assistance through Area Agencies on Aging, local nonprofit organizations, and state weatherization programs. Habitat for Humanity's A Brush with Kindness program specifically serves older adults in some areas. The Agingsolo Clearinghouse is a useful starting point for finding local support services that many solo agers do not know exist.
| Repair category | DIY or professional? | Notes |
|---|---|---|
| Leaky faucet | DIY | Manageable with basic tools |
| Caulking tubs and windows | DIY | Follow the water-fill technique |
| Electrical panel or wiring | Professional only | Safety and legal requirement |
| In-wall plumbing | Professional only | High risk of hidden damage |
| Weatherstripping and drafts | DIY | Straightforward and safe |
| Foundation concerns | Professional only | Structural evaluation needed |
When you do hire a contractor, be clear and specific. Write down what you want done before they arrive. Ask for a written estimate. And know that you are allowed to ask questions, take notes, and say "I need to think about that" before agreeing to additional work. Being a solo homeowner does not mean being a pushover. You have every right to be informed before you sign anything.
My honest take on solo home repairs
I want to share something I have come to believe deeply after years of working with solo agers navigating home maintenance on their own.
Most people do not fail at home repairs because they lack skill. They fail because they do not have a system and no one to share the mental weight of keeping a home running. The emotional side of that is real. There is a low-grade exhaustion that comes from being the only one who notices when something needs fixing.
What I have seen work is this: start smaller than you think you need to. One fixed dripping faucet builds more confidence than reading ten guides. One organized fix-it kit changes how approachable repairs feel. You are not trying to master home repair. You are trying to stay ahead of your home in a way that feels steady, not overwhelming.
I also want to say clearly: calling a professional is not giving up. It is smart resource management. The goal of living alone safely is not to do everything yourself. It is to know what you can handle, handle it well, and get the right help for the rest. Staying active and independent means building systems that support you, not exhausting yourself trying to be self-sufficient in every single domain.
Give yourself credit for every repair you complete. And give yourself permission to ask for help without apology.
— Mike
How Agingsolo can help you stay on top of it all

Managing a home alone takes more than a good toolkit. It takes a plan, a support network, and resources you can actually trust. At Agingsolo, we have built practical guides specifically for solo adults who want to stay independent, safe, and ahead of the challenges that come with aging in place on your own terms.
Whether you are working through your home safety setup, thinking about who to call in a real emergency, or just looking for a community that understands what solo aging actually looks like, we have resources that meet you where you are. Start by exploring how to build your support circle, a tool that helps you identify the right people and services to have in your corner before you need them. And visit our home safety guide for more on creating a living space that works safely for you, long term.
FAQ
What are the most manageable repairs for solo adults over 50?
Leaky faucets, caulking around tubs and windows, weatherstripping doors, and unclogging drains are all repairs most solo adults can handle safely with basic tools and a little preparation.
How do I stay on top of home maintenance alone without burning out?
Use the one-touch rule for repairs under five minutes and batch larger tasks monthly or seasonally. Anchoring tasks to daily habits removes the mental effort of remembering them separately.
When should a solo homeowner always call a professional?
Call a licensed professional for anything involving the electrical panel, in-wall plumbing, gas lines, roofing beyond surface level, or any structural concern. These repairs carry risks that make DIY attempts costly and potentially dangerous.
How can I find affordable home repair help as a solo adult on a fixed income?
Area Agencies on Aging, state weatherization programs, and nonprofit organizations like Habitat for Humanity offer low or no-cost assistance. The Agingsolo Clearinghouse connects solo adults to local services in their area.
What is the most common DIY mistake solo homeowners make?
Over-tightening plumbing fittings is one of the most common errors. Tighten only until watertight, then stop. Excess force creates micro-cracks that cause leaks weeks or months later.