
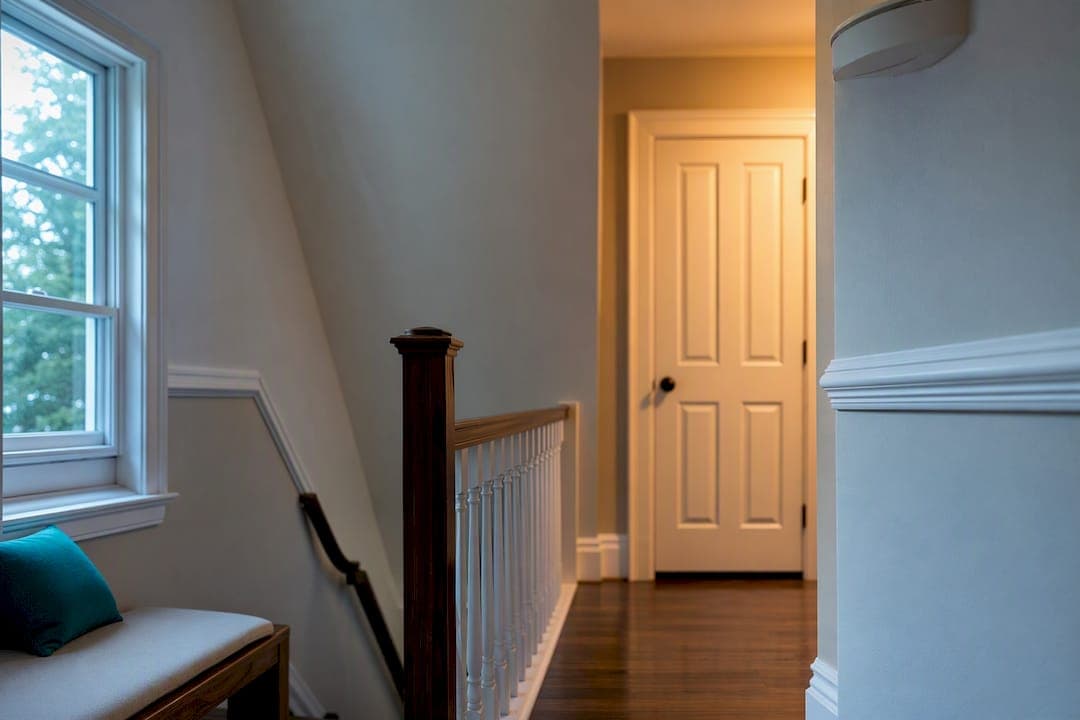
Put a carbon monoxide alarm on every level of your home, plus a unit centrally outside each sleeping area. If you're starting with just one, place it near where you sleep and make sure it's loud enough to wake you. Beyond that, follow the manufacturer's manual for exact mounting height. Coverage and audibility matter far more than hitting a specific number of inches off the floor.
TL;DR:
- Installing a carbon monoxide alarm on every level and outside each sleeping area significantly improves safety, especially if alarms are interconnected wirelessly or wired.
- Proper placement avoids false alarms from appliances or drafts by keeping alarms away from vents, humid spots, and close to, but not directly above, fuel-burning appliances.
- Regular testing monthly, replacing batteries annually, and upgrading units every 5 to 10 years ensure ongoing protection and alarm reliability.
- Ensuring alarms are audible from inside bedrooms with doors closed is crucial for early warning during sleep.
- Building a routine that includes walk-through audibility checks and recording installation or replacement dates is essential, especially for solo dwellers.
Table of Contents
- Carbon Monoxide Detector Placement: Where the Experts Say to Start
- Room-by-Room Placement That Actually Works
- Installation Details That Determine How Well the Alarm Works
- Placements That Undermine Your CO Alarm
- Testing and Replacing Your Alarms on a Real Schedule
- What to Do the Moment Your Alarm Sounds
- Making CO Alarm Care Part of Your Routine When You Live Alone
- Why Audibility Beats Perfection Here
- Turn This Into a Plan, Not Just a Checklist
- Sources
- FAQ
Carbon Monoxide Detector Placement: Where the Experts Say to Start
Start with coverage, not precision. The EPA recommends installing a CO alarm on every level of your home, including the basement if anyone sleeps down there, and placing at least one unit in a central spot outside each sleeping area. The NFPA echoes this guidance, adding that interconnecting every alarm in the house gives you the strongest protection available.
Here's why that matters more than people expect: CO is odorless and colorless, so you're relying entirely on sound. If your only alarm is on the ground floor and you sleep on the second, a soft chirp two rooms away might not reach you in time.
- Install one CO alarm on every level, including finished basements used for living or sleeping.
- Center placement outside sleeping areas beats a corner near a wall outlet just because it's convenient.
- Put a second unit near each bedroom door if your home has multiple sleeping zones on the same floor.
- Interconnect alarms, wired or wireless, so one unit triggering sets off every alarm in the house.
Pro Tip: Walk to each bedroom, close the door, and have someone test the alarm from the hallway. If you can't hear it clearly with the door shut, move it or add a unit closer to that room.
Interconnection is the detail most people skip, and it's the one the CPSC specifically calls out when recommending alarms with battery backup on every level. A single alarm sounding in a distant part of the house does you no good if you're asleep two rooms away and it never reaches you.
Room-by-Room Placement That Actually Works
Every room in your home behaves differently when it comes to airflow, humidity, and appliance exhaust. Treating them all the same is how you end up with either a dead spot or an alarm that goes off every time you make toast.
Bedrooms and hallways. Mount the alarm according to the manufacturer's instructions, whether that's wall or ceiling. What matters most is whether you can hear it clearly from inside the bedroom with the door closed.
Living rooms and family rooms. These work well for a central, unobstructed alarm on that level, especially if it's where you spend evenings. Keep it away from corners and away from anything that blocks sound or airflow.
Basements. If the basement is finished and used for living or sleeping, it needs its own alarm, placed according to the product manual.
Attached garages. Vehicle exhaust builds up here, but mounting a primary alarm directly where exhaust concentrates leads to constant nuisance triggers. Kidde's placement guidance suggests keeping detectors a reasonable distance from that immediate exhaust zone while still monitoring the space.
Kitchens and areas directly above fuel-burning appliances. Skip these as primary locations. Cooking exhaust and appliance startup cycles can set off false alarms, which trains people to ignore the sound entirely, exactly the outcome you're trying to avoid.
Installation Details That Determine How Well the Alarm Works
There's no single "correct" height for every CO alarm. Manufacturers design units differently, and the EPA's own guidance points to following the product manual rather than a fixed rule, because CO disperses through indoor air fairly evenly. What the manual says about wall versus ceiling mounting is what you follow.
Power source matters just as much as position:
- Battery-only units are flexible but depend entirely on you remembering to check them.
- Plug-in models with battery backup keep working during a power outage.
- Hardwired units with battery backup are the most reliable long-term option, especially when interconnected.
Look for the UL 2034 label or listing from another recognized testing laboratory before you buy, a standard the CPSC references directly. Check the manufacture date stamped on the unit, too. An alarm that's outlived its rated lifespan won't protect you the way a new one will.
Pro Tip: Write the installation date on the back of each alarm with a permanent marker the day you put it up. It saves you from guessing later.

Placements That Undermine Your CO Alarm
A few common placement habits quietly reduce how well an alarm does its job, or worse, teach you to ignore it.
- Don't install near supply vents, windows, or doors, where airflow can dilute or sweep away CO before it reaches the sensor.
- Skip bathrooms and other humid spots. Steam sets off false alarms and wears down the sensor faster.
- Keep alarms roughly 15 to 20 feet from stoves, ovens, and fireplaces unless the manufacturer's instructions say otherwise.
- Never tuck an alarm behind curtains, inside a cabinet, or behind furniture. It needs open air to sense anything accurately.
Each of these mistakes has the same result: a false sense of security. An alarm that's technically installed but poorly placed isn't doing much for you.
Testing and Replacing Your Alarms on a Real Schedule
Test every alarm at least monthly, and again after any power interruption. The CPSC's consumer guidance suggests replacing batteries annually, and replacing the entire unit according to the manufacturer's stated lifespan, typically somewhere between 5 and 10 years.
- Test monthly using the alarm's built-in test button, and jot the date somewhere you'll actually see it again.
- Swap batteries once a year, even if the low-battery chirp hasn't started yet.
- Check the manufacture date and replace the whole unit once it hits the end of its rated life.
- Keep the unit dust-free and unobstructed; a coat of dust can dull the sensor over time.
Interconnected units with battery backup cut down on failure risk substantially, since a dead battery in one alarm doesn't leave your whole system silent. Older alarms that keep sounding despite low readings, or units that have simply aged past their service life, should be replaced rather than repaired, per CPSC incident guidance.
What to Do the Moment Your Alarm Sounds
- Get everyone outside into fresh air immediately. Don't stop to search for the source.
- Call 911 or your local emergency number from outside, and account for everyone in the household.
- Get medical attention if anyone feels dizzy, nauseous, or short of breath.
- Have your fuel-burning appliances inspected before anyone goes back inside.
If you can't pinpoint what triggered the alarm, let a technician or emergency responder measure the air. Professionals typically sample air about 5 feet from potential appliance sources and avoid vents, since readings near airflow can be misleading. That's not a job to guess your way through.
Making CO Alarm Care Part of Your Routine When You Live Alone
If you live alone, the hardest part of alarm maintenance usually isn't the task itself. It's remembering to do it without anyone else around to nudge you. Tie your monthly test to something already on your calendar, like the day your rent or utility bill is due, so it rides along with a habit you've already built.
Choose placement that maximizes what a single sleeper can hear, since there's no second person down the hall to hear it first and wake you. A smart hub connection can send an alert to your phone if you're out, which adds a layer of coverage a wall unit alone can't offer. Keep a simple log of test and replacement dates. It protects your independence now and makes things easier for anyone helping you later.
Why Audibility Beats Perfection Here
Most guidance on carbon monoxide alarms gets buried in technical specifics, exact inches from the ceiling, exact distance from a doorframe, as if safety were a math problem. It isn't. The research actually points somewhere simpler: can you hear the thing when you're asleep? That's the question that matters, and it's the one most homeowners never actually test.
Conventional advice treats placement like a one-time installation task you check off and forget. That's backwards. An alarm mounted correctly in 2019 with a battery nobody's touched since is arguably worse than no alarm at all, because it creates false confidence. The households that stay protected are the ones that treat testing as a routine, not an event.
If you're aging solo, this matters even more. There's no one else in the house to notice a chirp you missed or a battery going dead. Build the test into a habit you already have, and don't skip the walk down the hallway to check if you can actually hear it. That five-minute check does more than any amount of precise mounting ever will.
— Mike
Turn This Into a Plan, Not Just a Checklist
Knowing where a CO alarm belongs is one thing. Building it into a home safety routine you'll actually keep up with, especially when you're the only one checking, is another. That's exactly the kind of practical planning Agingsolo's Solo Aging Clarity Session is built for: a 45-minute call where we walk through your specific home, your specific routines, and turn general safety advice into a plan that fits your life.

This session works well for solo agers who want a straightforward accountability system rather than another list of things to remember on their own. We'll talk through alarm placement, testing schedules, and how to build in a buddy check if that appeals to you, all in one focused conversation. The Solo Aging Clarity Session costs $97 and is booked directly through Agingsolo's site. If you've already handled the alarms, this is a natural next step for making sure the rest of your home safety routine holds up just as well.
Sources
FAQ
How many CO detectors does a house need?
At minimum, install one on every level of your home plus a unit centrally located outside each sleeping area. Larger homes or those with multiple sleeping zones on one floor often need additional units near each bedroom for reliable audibility.
How high should a CO detector be mounted?
There's no universal height requirement. The manufacturer's manual determines whether your specific unit mounts on the wall or ceiling, since CO disperses fairly evenly through indoor air.
Can I put a CO detector in the kitchen?
Avoid the kitchen as a primary location, since cooking exhaust and appliance cycles can trigger frequent false alarms. Keep alarms roughly 15 to 20 feet from stoves and ovens unless the manufacturer specifies otherwise.
Do CO detectors need to be interconnected?
Interconnection isn't required, but it's strongly recommended, especially in multilevel homes. The NFPA notes that interconnected alarms ensure one triggering unit wakes the entire household, not just people near that specific alarm.
How often should I test my carbon monoxide alarm?
Test every alarm at least once a month and again after any power outage. Replace batteries annually and replace the entire unit according to the manufacturer's stated lifespan, generally 5 to 10 years.